Save $150–$500 per fixture and do it yourself in under an hour
You Don’t Need an Electrician for This
Let me be direct: in 2026, the average US electrician charges $150 to $500 per outdoor fixture for hardwired security lighting installation. That’s before you factor in conduit, junction boxes, permits in some municipalities, and the two-week wait for a scheduling slot. For a homeowner who wants four lights covering a full property perimeter, you’re looking at a potential bill of $600 to $2,000 — for lights.
Solar security lights eliminate that entire cost structure. There’s no wiring to run, no breaker box to touch, no permit to pull. The entire install is mechanical: drill a few holes, drive some screws, angle a panel toward the sun. If you’ve ever hung a shelf or assembled flat-pack furniture, you have every skill this job requires.
This guide walks you through the complete process — from choosing the right mounting spot to programming your sensitivity settings — so your lights are up, charged, and protecting your home before the weekend is over.
📋 Before you start: Grab our free 5-Minute Home Security Audit Checklist to map out exactly which entry points on your property need coverage. It takes five minutes and will save you from buying the wrong number of lights or mounting them in the wrong spots. [Download the Free Checklist →]
Your Complete Shopping List
You likely own most of this already. Everything else is available at Home Depot, Lowe’s, or Amazon — linked below for convenience.
| Item | Why You Need It | Approx. Cost |
| 🔧 Cordless Drill + Drill Bits | Pilot holes and driving screws into wood, stucco, or brick | $35–$80 (or use what you have) |
| 🔩 Masonry Drill Bit Set | Required for brick, concrete block, or stucco mounting | $12–$18 |
| 📐 Bubble Level | Ensures your light head and panel are properly angled | $8–$15 |
| 🔵 Outdoor Silicone Sealant (clear) | Seals mounting holes against water intrusion and pest entry | $7–$12 |
| 🪝 Stainless Steel Mounting Screws | Rust-resistant; standard screws will stain your siding within a year | $6–$10 |
| 🪜 6–8 ft Step Ladder | Safe working height for optimal mounting position | Borrow or $40–$80 |
| 🖊️ Pencil or Chalk Marker | Marking drill points accurately before you commit | $1–$3 |
| 📏 Measuring Tape | Getting your mounting height right the first time | $5–$10 |
| 🧴 Weatherproof Thread-Locking Compound | Keeps screws from vibrating loose in wind over time | $6–$9 |
Total out-of-pocket if starting from scratch: ~$80–$160 in tools and supplies. Compare that to the $150–$500 electrician quote — per fixture — and the math is obvious.
Step 1: Map Your Property Before You Mount Anything
This is the step most people skip, and it’s why they end up remounting the same light three times.
Walk your property at dusk. Note every entry point a person could approach from: the driveway, side gates, back fence line, basement stairwell, detached garage. Write them down or sketch a rough diagram. Now ask yourself: where does it go dark first?
Those dark zones are your priority mounting locations.
The rule of thumb: One well-placed light covers roughly a 30–40 foot radius in motion-detection mode. If your driveway is 60 feet long, you need two lights staged along it, not one at the end. Sketch your coverage circles before buying to confirm you have enough units.
Step 2: Find the Sunniest Mounting Spot (This is Everything)
Solar light performance lives and dies on panel placement. A light mounted in the wrong spot will undercharge its battery and fail you on the nights it matters most.
The cardinal rule for US homeowners: face the solar panel south.
The continental United States sits in the Northern Hemisphere, which means the sun arcs across the southern portion of the sky year-round. A south-facing panel receives maximum direct sunlight throughout the day and across all four seasons. A north-facing panel — mounted on a shaded north wall — may receive as little as 2–3 hours of indirect light on a winter day. That’s not enough to reliably power a security light through a 14-hour winter night.
How to confirm your south-facing direction:
- Use your phone’s compass app. Stand at your mounting location and identify the wall or surface that faces closest to 180° (true south).
- Use Google Maps satellite view to orient your property. In the Northern Hemisphere, shadows fall northward — the side of your house with the longest shadows at midday is the north side.
Additional sunlight checklist:
- ☀️ The panel location receives at least 6 hours of direct sun daily
- 🌳 No tree canopy, overhang, or gutter casting shade on the panel between 9am–3pm
- 🏠 Not tucked under a deep eave (more on this in the pitfalls section)
- 📡 Not within 15 feet of a bright streetlight or driveway lamp (causes false “daytime” readings)
Pro tip: Check your chosen spot at three different times — 9am, noon, and 3pm. If it’s in direct sun all three times, you’ve found your location. If it’s shaded at any of those check-ins, keep looking.
Step 3: Mark and Drill Your Mounting Holes
With your location confirmed, it’s time to put holes in your house. Take a breath — it’s two or three small pilot holes, not surgery.
Determine your surface type first:
- Wood siding or fascia board: Standard drill bit, no special prep
- Vinyl siding: Drill slowly to avoid cracking; use a sharp bit
- Stucco: Use a masonry bit, drill at low speed with firm pressure
- Brick or concrete block: Masonry bit required; use hammer-drill setting if available
The mounting process:
- Hold the mounting bracket against the wall at your target height (see Step 4 for height guidance). Use your pencil to mark the center of each mounting hole on the surface.
- Set the bracket aside and use your level to confirm the marked holes are perfectly horizontal. Even a slight tilt will cause your light to angle improperly and reduce motion detection accuracy.
- Drill pilot holes at each mark. Go slightly deeper than your screw length to prevent surface cracking.
- Apply a small ring of outdoor silicone sealant around each hole before driving your screws. This creates a weatherproof barrier that prevents water from wicking into your wall cavity — a detail that prevents wood rot, mold, and pest entry over time.
- Drive your stainless steel screws through the bracket and into the wall. Snug but not overtightened — you may need to adjust the angle during initial setup.
- Apply thread-locking compound to screw threads if your location gets significant wind. This prevents the vibration-loosening that causes lights to sag over months.
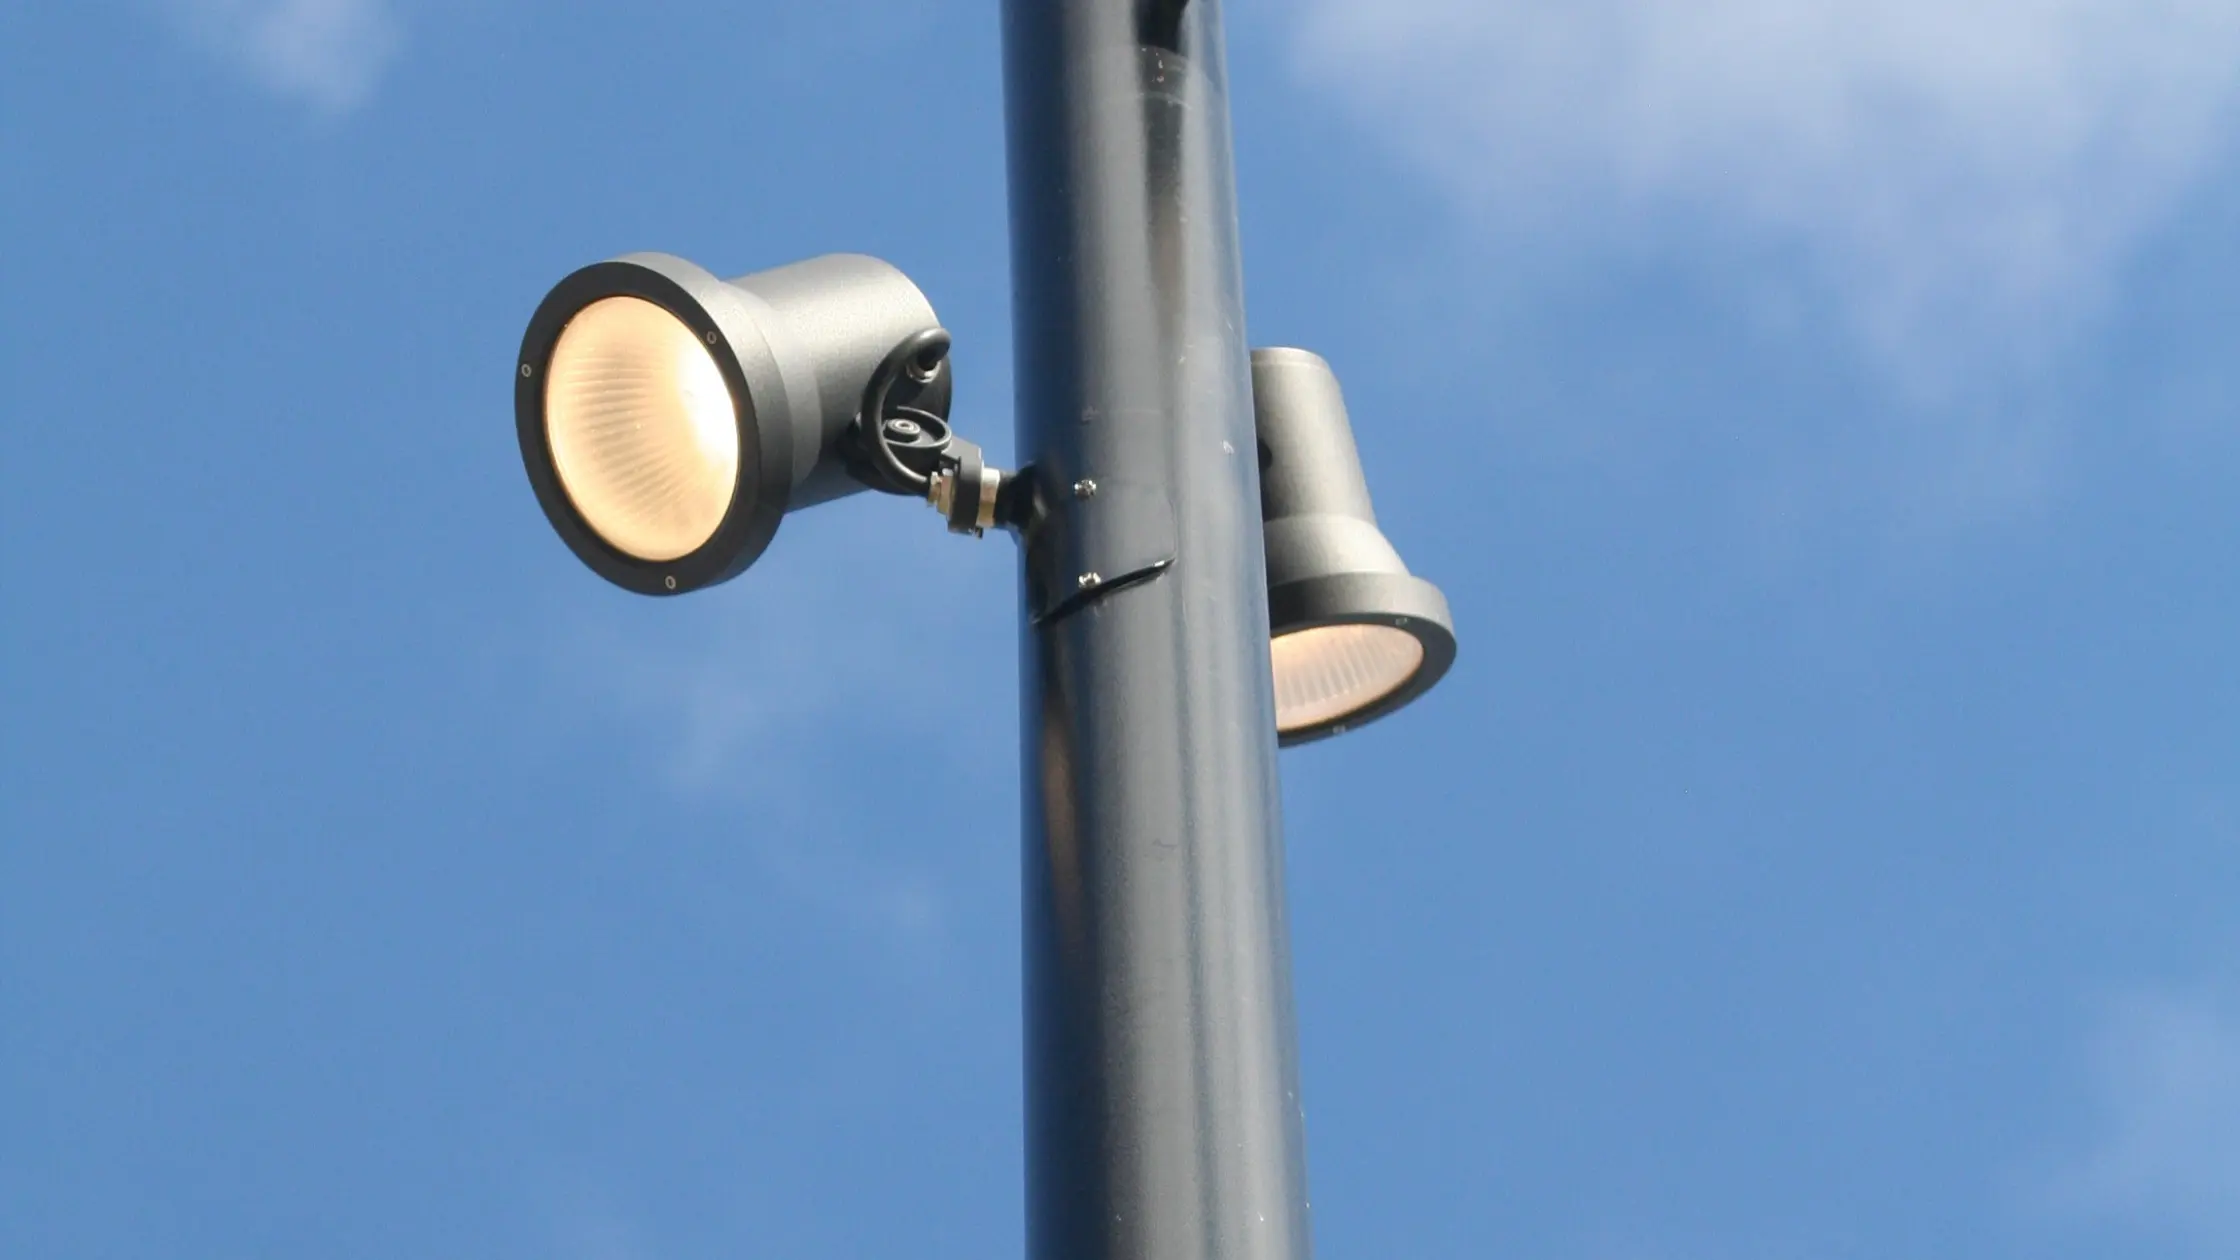
Step 4: Mount at the Right Height (6–8 Feet for Most Applications)
Mounting height directly determines how well your motion sensor performs. Get this wrong and you’ll either miss real intrusions or trigger constantly on pets and wind.
The optimal range is 6 to 8 feet above ground level.
Here’s the science behind it: PIR (Passive Infrared) motion sensors detect movement by scanning a cone-shaped field in front of the unit. When mounted at 6–8 feet, that detection cone intersects a person-sized target at the right angle and distance to maximize sensitivity. Mount too low (under 5 feet) and you’re detecting at a shallow angle that misses lateral movement and constantly catches small animals. Mount too high (above 10 feet) and the detection cone’s ground-level coverage shrinks, creating blind spots right at your foundation.
Height exceptions by use case:
| Location | Recommended Height | Reason |
| Front door / porch | 7–8 ft | Covers full approach path, avoids trigger by passing pedestrians on sidewalk |
| Driveway (side mount) | 8–10 ft | Wider coverage needed for vehicle-width detection |
| Back fence / gate | 6–7 ft | Lower ambient movement; standard height is ideal |
| Garage (above door) | 8–9 ft | Needs to cover the full width of the parking apron |
| Stairwell or basement entry | 6 ft | Tight space; lower mount improves close-range sensitivity |
Step 5: Angle the Solar Panel for Maximum Charge
Most solar security lights have an adjustable panel arm that pivots independently from the light head. Use it.
Target panel tilt angles by US region:
| Region | Recommended Panel Tilt | Example Cities |
| Pacific Northwest / Northern States | 45–50° from horizontal | Seattle, Minneapolis, Chicago, Boston |
| Mid-Atlantic / Midwest | 35–45° | New York, Columbus, Denver, Kansas City |
| Southeast / Sun Belt | 25–35° | Atlanta, Dallas, Phoenix, Orlando |
| Hawaii / Far South | 15–20° | Honolulu, Miami, San Antonio |
The logic: tilt angle should roughly match your latitude. Steeper tilts catch the lower winter sun angles in northern states; flatter tilts work in southern states where the sun stays higher in the sky year-round.
After mounting, use your bubble level to confirm the panel is tilted at your target angle. Re-tighten the panel arm screw once the angle is set.
Step 6: Set Your Modes and “Forget” It
Most quality solar security lights offer three operating modes. Set them correctly once during initial install and you genuinely won’t need to touch them again.
Mode 1 — Motion-Only (Recommended for security use) The light stays off until motion is detected, then fires to full brightness for a set duration (typically 20–60 seconds, adjustable). This is the most battery-efficient mode and the most effective deterrent because sudden illumination is psychologically startling.
Mode 2 — Dim-to-Bright The light maintains a low ambient glow (10–20% brightness) throughout the night and surges to full brightness on motion detection. Good for porches or pathways where some constant light is desired. Uses significantly more battery.
Mode 3 — Constant On Full brightness all night. Avoid this mode unless you have a large-capacity battery (4,000mAh+) and excellent sun exposure. It will drain most units before dawn.
Sensitivity adjustment: Start at maximum sensitivity for the first two nights to map your environment’s trigger patterns. Note what’s causing activations — wind-blown branches, passing cars, the neighborhood cat. Then dial sensitivity back to eliminate nuisance triggers while maintaining detection of person-sized movement.
Duration setting: 30 seconds is the practical sweet spot for security use. Long enough to fully illuminate an approach path, short enough to conserve battery over a full night of intermittent triggers.
Why Solar Lights Fail: The 7 Most Common Pitfalls
I’ve tested enough of these to know exactly why homeowners end up frustrated. Avoid these mistakes and your lights will perform reliably for years.
1. Mounting under a deep eave or overhang The panel gets zero direct sun. The light undercharges from day one and dies within weeks. If your only mounting option is under an eave, choose a model with a remote panel that can be positioned separately.
2. Placing near an existing streetlight or bright driveway lamp The light sensor — which tells the unit when it’s “nighttime” — reads the nearby lamp as ambient daylight and keeps the security light switched off all night. Mount at least 15–20 feet from any constant light source.
3. Using in heavy shade without a high-capacity battery Shaded locations need a unit with a 4,000mAh+ battery to compensate for reduced daily charging. Budget units with 1,500mAh cells will fail within 24–36 hours of a cloudy stretch in a shaded location.
4. Forgetting to remove the battery pull-tab It sounds absurd, but it’s the most common support question solar light manufacturers receive. New units ship with a plastic pull-tab isolating the battery for transport. Pull it out before mounting. If your light isn’t working after a full day in the sun, check this first.
5. Using standard steel screws on exterior applications They rust within one season, leaving brown streaks on your siding and eventually loosening their grip. Always use stainless steel or coated exterior screws.
6. Not sealing mounting holes Water wicks into unsealed holes and causes wood rot, drywall damage, and pest entry over time. Thirty seconds with a silicone sealant tube prevents years of structural damage.
7. Ignoring seasonal panel re-adjustment The optimal panel angle changes by 15–25 degrees between summer and winter in northern states. If you install in July and never adjust the panel, your winter charging efficiency will be significantly reduced. Check and readjust your panel angle each fall and spring.
Your Install Checklist: Run Through This Before You Pack Up
Before you put the ladder away, confirm every item on this list:
- [ ] Panel faces south (confirmed with compass app)
- [ ] Panel receives direct sun 9am–3pm with no shade obstruction
- [ ] Light head mounted at 6–8 feet (or appropriate height for location)
- [ ] All mounting holes sealed with outdoor silicone
- [ ] Stainless steel screws used throughout
- [ ] Panel arm angled to match your latitude
- [ ] Battery pull-tab removed
- [ ] Operating mode set to Motion-Only
- [ ] Sensitivity set to maximum for first 48-hour evaluation period
- [ ] Not within 15 feet of a streetlight or permanent lamp
One More Thing Before You’re Done
A security light is a deterrent, not a complete security system. The most effective home security strategy layers deterrents — lighting, visibility, signage, and awareness — to make your property a low-reward target compared to easier alternatives.
📋 Get the Free 5-Minute Home Security Audit Checklist
This quick walkthrough covers every exterior vulnerability on a typical US home: dark zones, entry point hardening, visibility gaps, and sensor placement optimization. It takes five minutes and most homeowners find at least two blind spots they hadn’t considered.
[Download the Free Checklist — No Email Required →]
You’ve just saved yourself a $150–$500 electrician bill per fixture. Now make sure those lights are actually covering the right spots.
Guide reflects US installation standards and product specifications current as of 2026. Local building codes vary; check municipal guidelines if your HOA or jurisdiction has specific exterior modification rules.


